Prerequisites
You need just three things on your machine:
- Docker (24+) and Docker Compose v2 — verify with
docker --versionanddocker compose version. - Free port 8080 for the web app and port 5432 for Postgres (bound to localhost only, so reachable only from your machine).
- Around 5 GB free disk space for container images, the JAR build cache and the first workspaces.
claudecode, you'll need that CLI locally (see the tutorial). For the mock adapter, nothing extra is needed.
1. Get the distribution bundle
The factory is a licensed product — there is no public repo. After purchase or trial unlocking you receive the distribution bundle. Open a terminal, unpack it and enter the folder:
tar xzf softwarefabrik-einzelplatz.tar.gz
cd softwarefabrik
The bundle contains the docker-compose.yml (containers for the app and Postgres), the signed JAR and a sample .env. Just want to look without installing? Use the live demo.
2. Create the .env file
The platform reads a .env file with mandatory variables on startup. The file lives in the unpacked bundle directory (./softwarefabrik/.env) — it holds secrets, so keep it out of version control and backups. Replace the example values with strong secrets of your own:
# Bootstrap admin (login account on first start)
SOFTWAREFABRIK_ADMIN_USER=admin
SOFTWAREFABRIK_ADMIN_PASSWORD=ChangeMe-2026!

# Database password (for Postgres in the container)
SOFTWAREFABRIK_DB_PASSWORD=DbSecret-2026!

# Master key for encrypting API keys (32 bytes, base64)
SOFTWAREFABRIK_SECRETS_MASTER_KEY=<paste your key here>
Generate the master key with a one-liner. On Linux/macOS:
openssl rand -base64 32
On Windows (PowerShell):
[Convert]::ToBase64String((1..32 | ForEach-Object { Get-Random -Maximum 256 }))
SOFTWAREFABRIK_ADMIN_PASSWORD, the platform deliberately does not create a bootstrap admin — you won't be able to log in. Weak defaults like admin/admin would be a security bug, so we require an explicitly set password. The master key must be at least 32 bytes long; without it the platform refuses to start. Changing it later means previously stored API keys can no longer be decrypted — pick once, back it up, then leave it alone.
3. Start the platform
Start the containers in the background:
docker compose up -d
docker compose logs -f app
The first run pulls the images and builds the app — this takes about 2–4 minutes. Flyway runs V1..V33 (~10 seconds). As soon as the logs report Started SoftwarefabrikApplication, the platform is ready.
You can also poll the health endpoint:
curl -f http://localhost:8080/actuator/health
# expects: {"status":"UP"}
Now open your browser at http://localhost:8080.
4. Log in
You land on the login page. Use the credentials from your .env:
- Username:
admin(or whatever you set inSOFTWAREFABRIK_ADMIN_USER) - Password:
ChangeMe-2026!(or your own value)
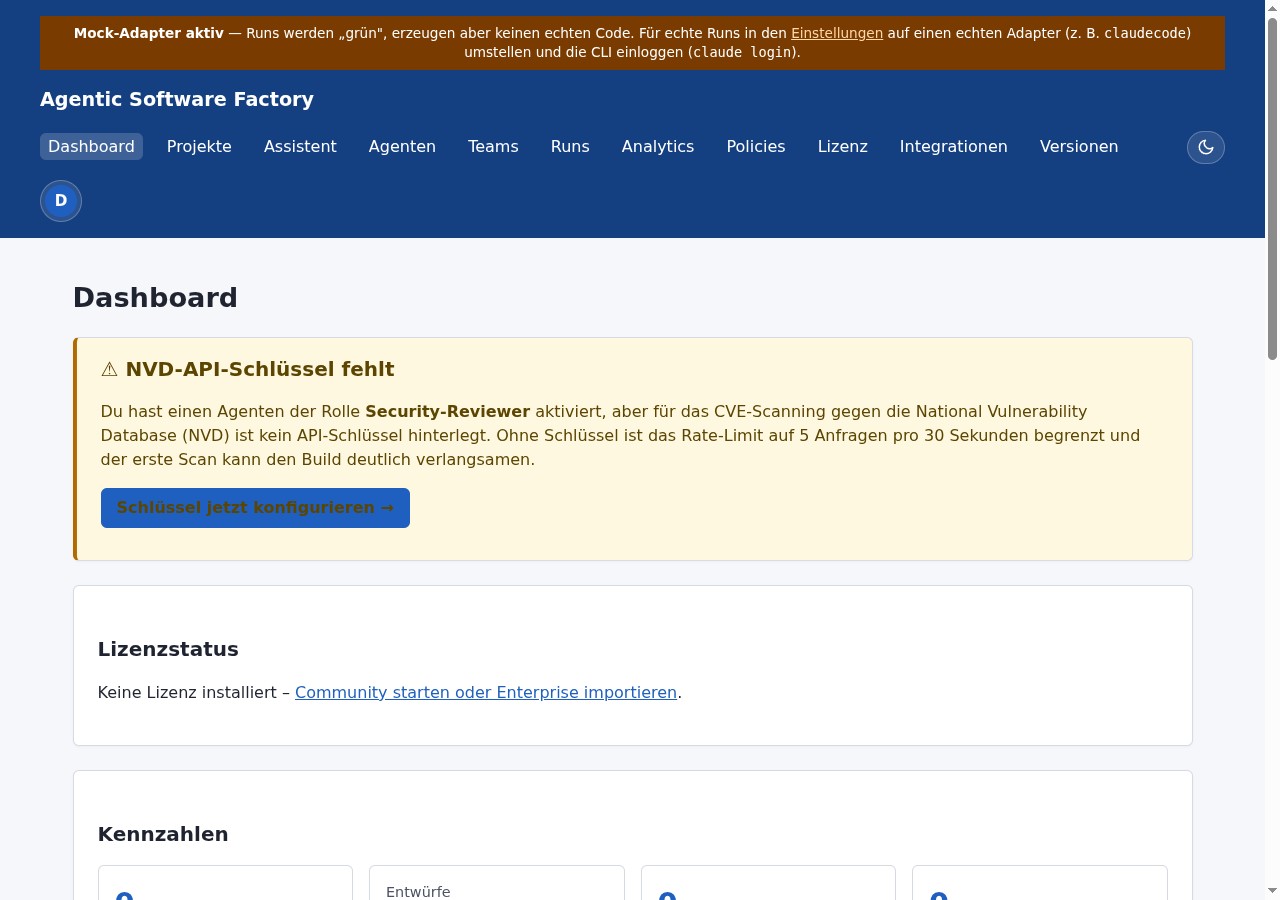
After a successful login you reach the dashboard with KPI tiles (everything is at zero, which is correct on a fresh instance), a list of your most recent projects and your most recent runs.
docker compose logs app | grep -i admin — usually the env variable is missing.
5. First project with the wizard
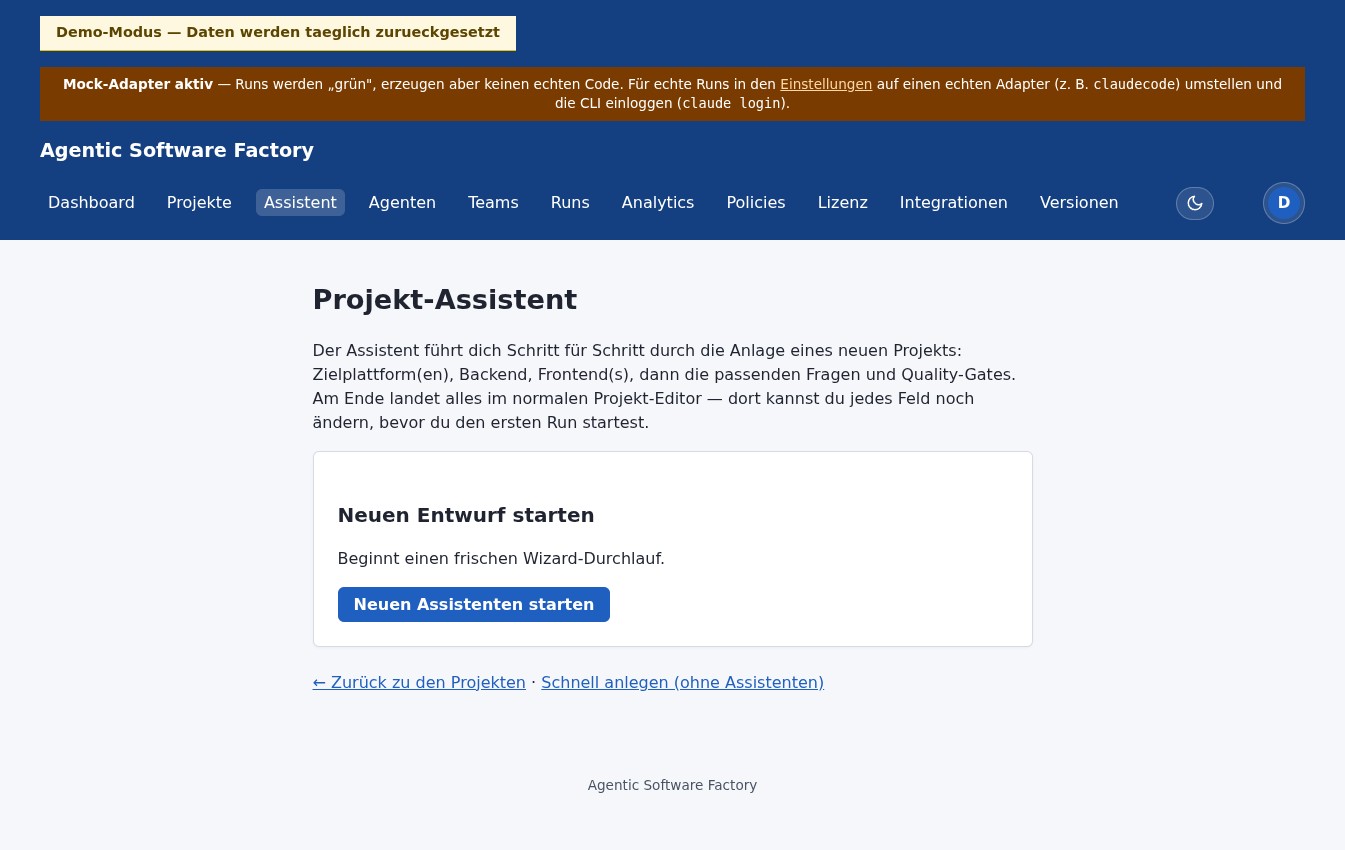
From the dashboard click "New project with assistant" or navigate directly to /wizard. The wizard has six steps:
- Pick a template. Choose Modern Spring Boot Backend.
- Answer questions. Use sample values:
- Project title: My first backend
- Vision: A simple health-check service
- Java version: 25
- Database: H2 (no extra Postgres needed)
- Architecture: layered
- Language: English
- Pick quality gates. Leave the ArchUnit toggle on, switch the others off.
- Summary. Confirm with "Create project" — the page shows a cost estimate and prompt preview.
You now land in the project editor at /projects/<id>/edit with all fields pre-filled. Click "Generate Markdown artifacts" to have the platform produce the six specification files (PROJECT.md, INSTRUCTIONS.md, AGENTS.md, WORKFLOW.md, DEFINITION_OF_DONE.md, README.md).
6. Watch the run
In the project editor click "New run". On the run-creation page:
- Run title: Create skeleton
- Goal: Set up the initial Maven project with Spring Boot, a health endpoint and a first smoke test
- Adapter:
mock(deterministic, no API key required) - Click "Create run"
The run is now in status DRAFT. Click "Move to READY", then "Start run". You land on the run detail page and see:
- Status indicator: moves through the seven phases
INTAKE→PROMPT_ASSEMBLY→WORKSPACE_PREPARATION→EXECUTION→VALIDATION→CORRECTION→COMPLETIONto the final stateCOMPLETED. - Logs (live): every line the mock adapter emits appears immediately. Mock takes about 10 seconds for a complete run.
- Git view: on the right you see the commits the agent made — typically "chore: initial scaffold" + "test: add smoke test".
7. Quality gate
Once the run reaches COMPLETED, click the "Quality gate" tab (or the "Run quality gate" button at the bottom). The platform launches the six reviewers (architecture-reviewer, hallucination-review, security, dependency-scan, aider-review, claude-review) and shows the verdict:
- PASSED: all green, no findings.
- WARNING: some findings, but nothing blocking.
- FAILED: at least one blocking finding (e.g. an ArchUnit violation).
For each reviewer you see findings with severity, confidence score and explanation. In the quickstart with the mock adapter you should typically get PASSED — mock outputs are designed not to trigger real violations.
/einstellungen → Quality Gate.
The full SDLC loop
What you just stepped through above is a slice of the full lifecycle the platform runs iteratively. Once set up, the loop closes on its own — each pass leaves the project a little more finished:
- Plan. A plan run analyses the project and produces planning files (
plans/*.md) that show up as a backlog — a prioritised list of concrete work items. - Select. You activate a backlog item as the next goal.
- Build. A build run works the item on its own branch (
sdlc/run-…) in the persistent workspace — the main line stays untouched. - Self-correction. If the build fails (red test, compile error), the agent automatically retries with the error feedback — capped at a configurable number of attempts.
- Quality gate. The reviewers check the result. The mode is selectable: off, advisory (findings are shown but don't block) or blocking (findings stop delivery).
- Deliver. With a Git remote and GitHub token configured, the platform pushes the branch and opens a pull request. Without a remote it falls back to a local merge.
- Learn. Insights from the run flow into project memory and are available to follow-up runs as context.
- Onward. Optionally the platform offers auto follow-up proposals (a fresh plan run) — and the loop closes.
/einstellungen. In the quickstart with the mock adapter you can dry-run the loop once; with real adapters (step 8) it produces production commits.
Cleaning up
To stop the platform without losing data:
docker compose down
That keeps Postgres data in the Docker volume. The next docker compose up -d brings your account, projects and runs back.
To wipe everything (DB, workspaces, logs):
docker compose down -v
rm -rf ./workspaces
-v flag deletes all Docker volumes, including your database. Only do this if you really want to start over.
Common questions
Port 8080 is already in use
Set SOFTWAREFABRIK_PORT=9090 in .env and restart the containers. Alternatively, stop the process holding 8080 (often Tomcat or another Spring Boot process) — find it with lsof -i :8080.
Login page rejects the password
Check that the password in .env is spelled correctly (no quotes, no leading/trailing whitespace). With docker compose logs app | grep -i admin you can see whether the platform created the bootstrap admin. If you get a Whitelabel Error Page instead of the login, the app is usually still starting — wait a minute and reload.
Build takes ages
The first Maven build takes 2–4 minutes pulling Spring Boot dependencies. Subsequent builds are much faster thanks to the Docker layer cache. Use docker compose build --pull to force a clean build if you suspect a corrupted cache.
Wizard shows outdated versions
The version cache refreshes daily at 03:00. On a fresh setup it has no values yet and shows fallback versions from the code. At /einstellungen/wizard/versions you can hit "Refresh now" — needs an internet connection.
My run is stuck in DRAFT
A new run is always in DRAFT. You first need to move it to READY and then click the "Start run" button. Two confirmation points by design — to prevent accidentally burning tokens.
Where do workspaces live?
By default under ./workspaces/<run-id>/ in the bundle directory. You can change the path at /einstellungen → Workspace. Each run gets its own directory with its own Git history.
Choose the operating mode
Before switching to real adapters, decide the instance's operating mode. It controls whether the subscription login (personal Claude/Codex plan) is allowed or whether only stored API keys are used. Set it as the betrieb.modus setting under /einstellungen (or via env SOFTWAREFABRIK_BETRIEB_MODUS):
EINZELPLATZ_ABO(default) — uses the Claude/Codex subscription login (personal Max/Pro plan). Convenient for a single seat, no API billing setup needed.TEAM_API_POOL— disables the subscription login and enforces a stored API key (team/pool billing). Required as soon as more than one seat is involved, because subscriptions do not scale to teams under their ToS.
EINZELPLATZ_ABO is fine. It only matters once you use real vendor adapters (next step).
8. Onward with real adapters
Once the mock adapter works, the vendor adapters are next:
- → Tutorial with Claude Code — full workflow against Anthropic.
- Set up API keys:
/integrationsin the platform UI. - Activate container sandbox: setting
execution.sandbox.variant=containerin/einstellungen.